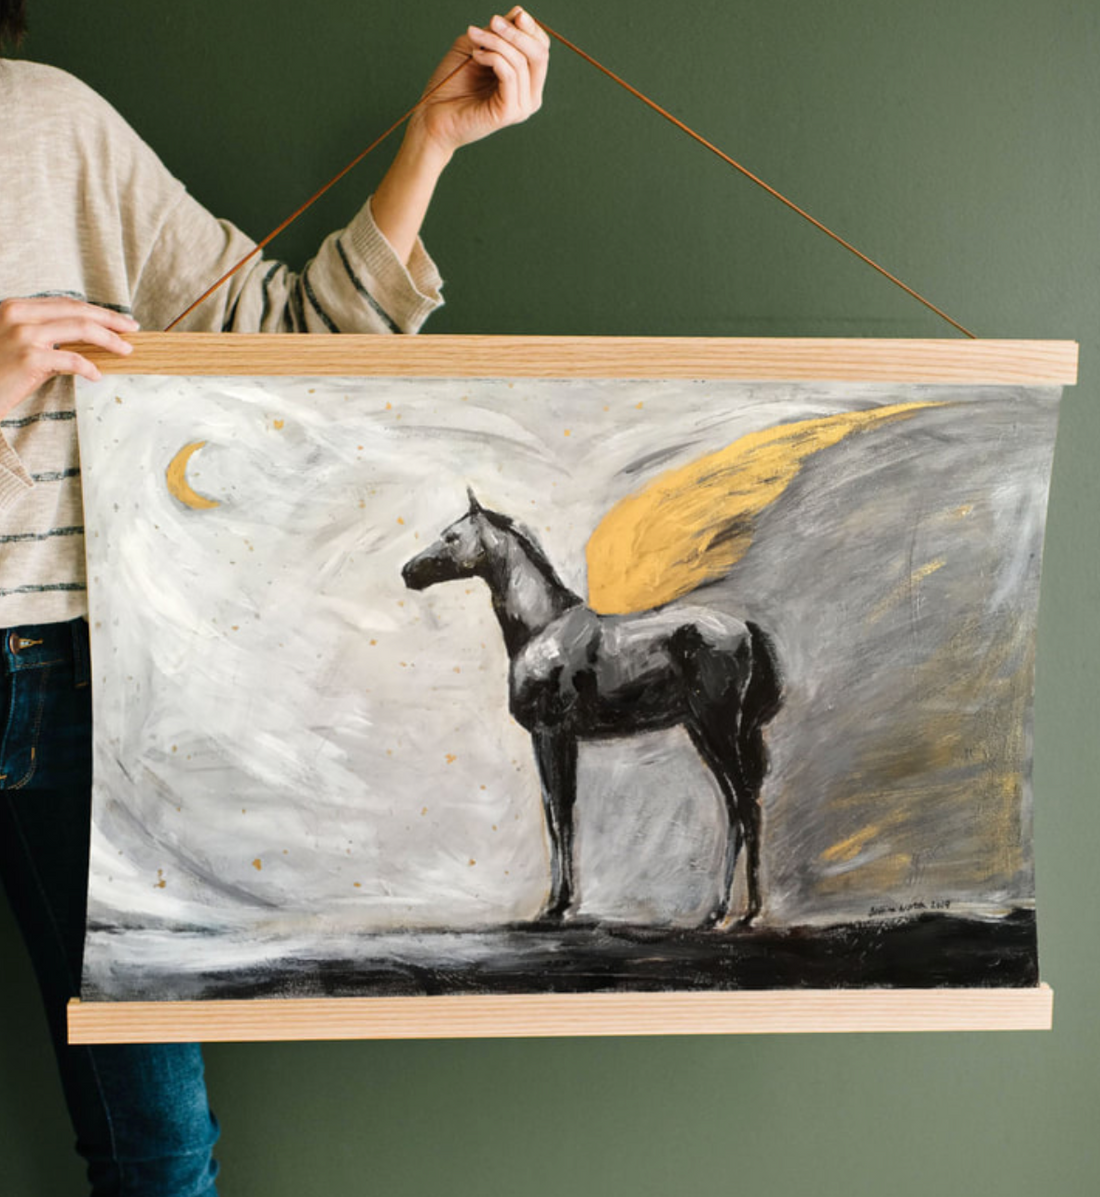
How to frame art when you don't have a frame!
Share
Hello,
Framing can be confusing! I know, I've been there too. I used to make myself crazy trying to frame my own and other people's art... I was overwhelmed! There are so many things to consider. What if you don't have a frame? What if you cant get to the framers right now? And what if, as a result of all this, your beautiful new art is lying hidden on a shelf collecting dust? Not cool.
Framing can be confusing! I know, I've been there too. I used to make myself crazy trying to frame my own and other people's art... I was overwhelmed! There are so many things to consider. What if you don't have a frame? What if you cant get to the framers right now? And what if, as a result of all this, your beautiful new art is lying hidden on a shelf collecting dust? Not cool.
Well, I’m no Picasso or Wayfair, but I have helped friends, family and lots of clients figure out how to frame their art before they can get it professionally done. And that's what we're going to focus on today: how to frame art, when you don't have a frame.
I want to share step-by-step processes and ideas with you. These are all my best tips and tricks for how to hang it up so you can enjoy the beautiful art you recently invested in.
I want you to have this information because honestly, I get way too many emails from all my art clients searching for solutions and coming up empty handed.
Grab a cup of coffee (or wine ;) and let's get started!
TIP #1
Binder clips + cotton twine or solar twinkle lights

Ok, so I don't know about you, but I think that twinkle lights always make everything prettier. I love, love, love and bedeck my entire home with twinkle lights. I even made a twinkle light door into my studio!
I also have a serious office supply addiction - and love to have wayyyy too many things dedicated to keeping things organized.
Accordingly, I recently realized that pretty much everything you need to hang up art is right at home! My very simplest and "get your art on the wall right now" tip is to get some of those little black binder clips and/or paper clips (find them here if you don't have them) and a string of solar twinkle lights (I really like these) or cotton twine and use them as your building blocks to to create your very own art gallery wall. Personally, I think these gold decorative clips are super cute and affordable.
Once you have everything, pick an open space on a wall and start hanging. You could either pull the string/twinkle light strand taught so it's a straight line across the wall, or let it be a little bit wavy like in the photo above. Be sure to mix in some meaningful photos, pics of friends and family and maybe a photo of that place you're going to visit one day!
Enjoy the process! Hanging it up and being creative is half the fun!
TIP #2
Skirt hangers

Not gonna lie, this is my personal favorite! I have so many skirt hangers lying around my house and I never know what to do with them.... I'm sure you've got them at your house, too.
Hanging art with a skirt hanger not only looks super cute, but the wide wood clamp won't damage the paper. There are loads of options for how to arrange them, and all you'll need are a few pins to hang them up on the wall. Don't have any skirt hangers left at home? You can get them here, hanging 12 pieces of art for less than the cost of one regular wood frame. That's a win, win in my book.
Hanging art with a skirt hanger not only looks super cute, but the wide wood clamp won't damage the paper. There are loads of options for how to arrange them, and all you'll need are a few pins to hang them up on the wall. Don't have any skirt hangers left at home? You can get them here, hanging 12 pieces of art for less than the cost of one regular wood frame. That's a win, win in my book.
TIP #3
Washi tape + double stick tape

Ohhhh washi tape makes things sooo easy! I can't even tell you how much fun it is to play with. Washi tape is this paper light, no-damage, pretty tape you can put on painted walls to create an edge and frame around any piece of art.
Let's say you have a print at your house that you love and haven't been able to hang up. All you would need are 1. washi tape and 2. double stick tape.
First, pick a wall you'd like to hang the art on, stick the double sided tape on the back of the print in each corner, and then attach your art to the wall. Once that's done, create a pretty border to your liking using washi tape around it. I really like this washi tape in soft neutrals and this double stick tape.
TIP #4
Wooden Poster Frame

This is another simple framing winning option. Using a wooden poster frame is one of the least expensive and simplest way to hang your art while still looking great. All you'll need are a place to hang the art and this poster frame which comes in sizes anywhere between 8" and 24" across! I like that this a pretty way to incorporate natural wood into your home and decor.
Ok, remember none of these options are meant to be permanent (unless you would like them to be, which is ok too!) and we are not looking for perfection here - these are simple ideas to get your art on the walls when getting to a framer is waayyy to complicated, to say the least. I hope you have a blast hanging your art on the wall! Send me a pic so I can admire it too!
TIP #5
Floating Frame

I love, love, love these frames from Target- they are light and airy and look stunning when installed in any room. Check them out here!

